


Coloring Eggs Naturally
Celebrating all the festivities around Easter is a big tradition on the ranch. For decades we’ve invited friends from neighboring ranches, towns, and from afar to join us for a large potluck lunch under the Casa’s old arbor. The day feels like a true celebration of spring: the purple wisteria on the arbor is flowering and fragrant; the grass in the yard is green; and the first flowers of the spring are blooming. Our guests all bring a rainbow’s worth of eggs for us all to hide for an egg hunt, as well as platters and bowls full of delicious foods to share.
One tradition that I have done with the kiddos since they were young was to dye eggs a few days before the big day. Of course there is the traditional egg coloring, which (let's all be honest) is great, quick and easy. But if you are feeling adventurous, try dyeing your eggs with natural dyes made from cooking scraps that you can find just around your kitchen. Year after year the kiddos have always loved this tradition and the colors always turn out so vibrant and festive.
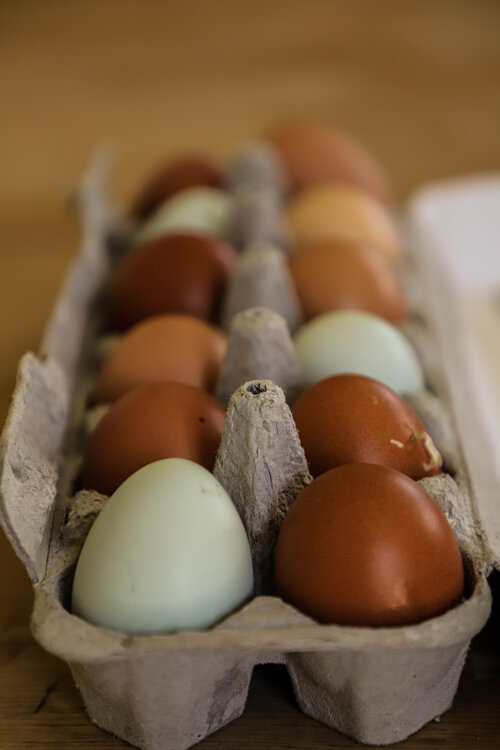
There are a lot of reasons that I love making my own egg dyes. Part of the appeal is practical: it’s really cheap and convenient to use foods that you already have sitting around your kitchen to dye your eggs. The process is also kind of a science experiment for the kids, since we’re never entirely sure what color we’ll end up with (especially if we use brown and colored eggs).
Many different kinds of food will produce nice dyes that you can use for your eggs. Onion skins, cabbage, and turmeric are all popular, but anything with a strong color that stains (basically any food that you don’t want to get onto your nice linen tablecloth) will do. Some options include:
-
red—red onion skins (long soak)
-
reddish orange—paprika
-
pink—chopped beets (with white eggs)
-
maroon—chopped beets (with brown eggs)
-
burgundy—red wine
-
gold—yellow onion skins
-
yellow—turmeric
-
green—turmeric + cabbage (soak in yellow first, then in the blue after it dries)
-
light blue—red cabbage (light soak)
-
indigo—red cabbage (long soak)
-
lavender—blueberries or Red Zinger tea
-
purple—red wine (long soak)
-
light brown—leftover coffee
-
dark brown—coffee (with brown eggs)
-
off-white—black tea


Once you’ve picked your materials, you’re ready to make the dyes:
-
Put each ingredient into its own pot with about a quart of water and 2 tablespoons of distilled white vinegar (to help the color adhere to the eggs) and bring the water to a boil. Let the pot bubble for 30 minutes or longer. (The longer the mixtures cook, the stronger the dyes will be.)
-
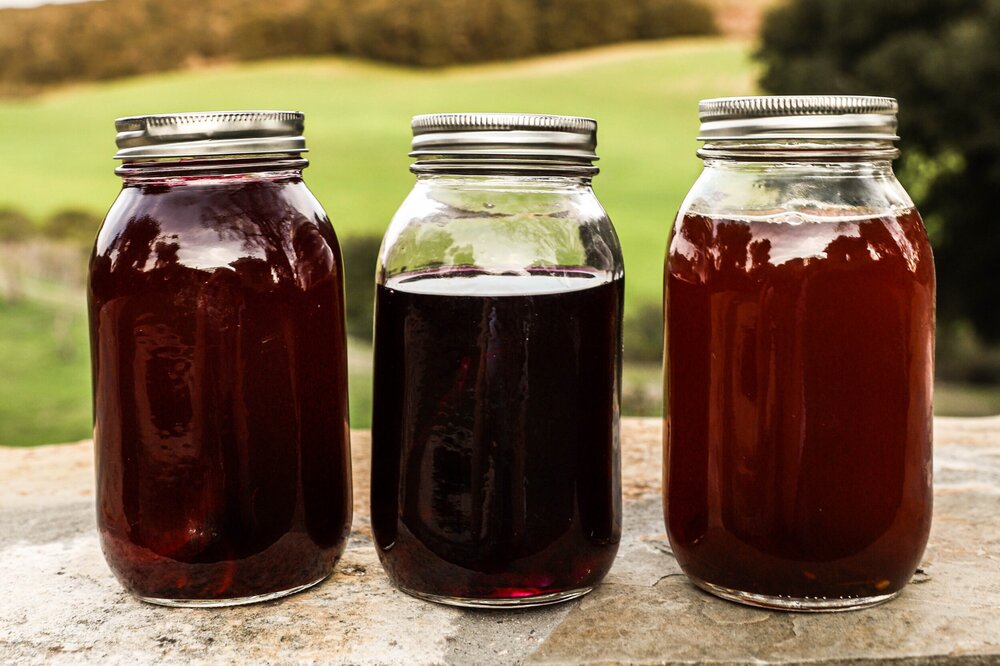
Turn the heat off and let the liquid cool completely, then strain out the solids (the vegetables, tea bags, etc), and pour the liquid into wide-mouth quart jars or bowls. (Just remember that the color may stain anything it sits in.)
-
Gently add the eggs to the jars and let them sit until the eggs have the desired color; 30 minutes will generally produce some nice pastel colors; a few hours will give you a much richer palette.
-
When the eggs are done, carefully pull them out with a spoon and lay them on paper towels to dry. The finished eggs can go back into their cartons and stay in the refrigerator for up to a week.
-
Once you’re done with your first batch of eggs, you can seal the jars of dye and leave them in the refrigerator, ready for another batch (or two) later in the week.
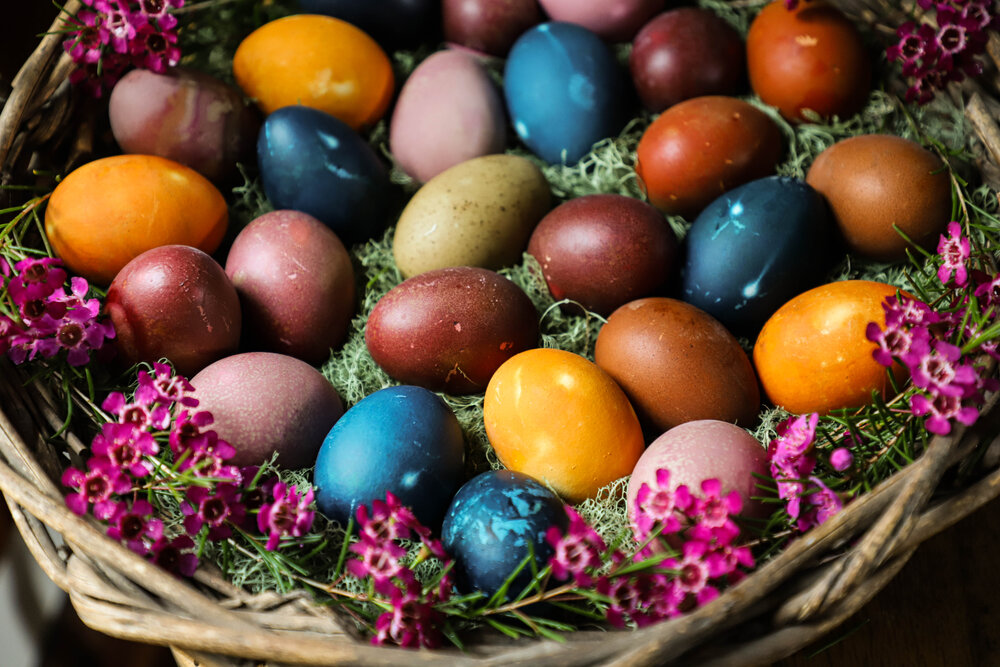
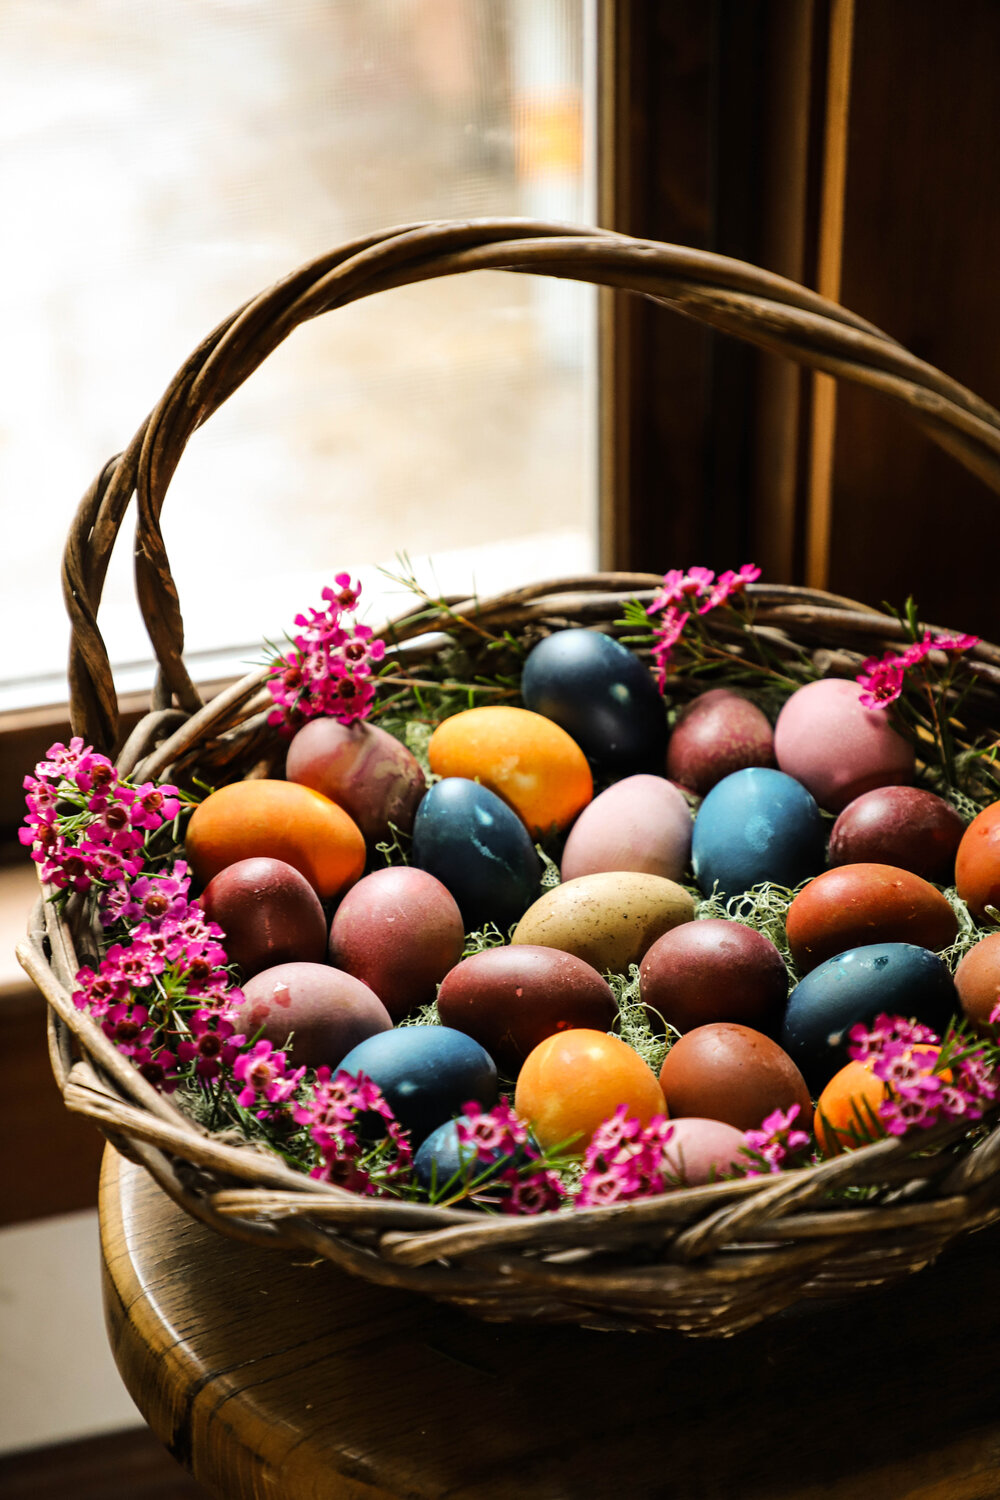
I’ve made eggs this way for many years, but this past week, I made a test batch using both white and brown eggs, just for fun, since I don’t usually have white eggs and I wanted to see how the colors differed. When I checked on them after 30 minutes, the eggs had nice pastel hues, but I opted to put them back and leave them in the dye, refrigerated, overnight. The results were gorgeous. The white eggs dyed with cabbage had a deep indigo-like blue, those in the onion peel mixture turned a golden color that reminded me of a sunset, and the beets were a beautiful pink. The brown eggs also took the colors well but turned out slightly darker; the ones I dyed with the beets were a particularly nice maroon. I also used cold coffee on the brown eggs, which produced a rich, mahogany-like result. Each of the eggs also turned out slightly different, and they had interesting spots where they had touched each other in the jars. The result was a really beautiful, natural-looking assortment that I just love.
I’ll do a few more batches of eggs with the kids throughout this coming week; they really like to play with the colors and experiment with the time and color combinations. Because these dyes take longer to set than store-bought dyes, we usually put the eggs into the color and then head out to do something else—if we’re going for light colors, I might just send them to brush their teeth or read a book, but if we want dark colors, we’ll head outside to play or work. At the end of the week, we’ll have a wide range of colors and plenty of eggs to keep the Easter bunny busy for a long, long time.
Watch here for my reel on Coloring Eggs Naturally!
Be sure to sign up for our mailing list to get alerts about future recipes!
Enjoy!
Elizabeth
Photos by Elizabeth Poett